Gum paste, a versatile and pliable sugar dough, is a popular medium in cake decorating, used to create intricate flowers, figures, and other decorative elements. Making gum paste involves combining a few key ingredients—typically powdered sugar, tylose powder (a starch derived from wood pulp), and water—to form a dough that can be shaped, molded, and dried to retain its form. The process begins by mixing tylose powder with water to create a gel-like substance, which is then gradually combined with powdered sugar to achieve the desired consistency. Once prepared, the gum paste can be colored, rolled out, and crafted into detailed designs, making it an essential skill for anyone looking to elevate their cake decorating artistry.
| Characteristics | Values |
|---|---|
| Main Ingredients | Gum tragacanth or tylose powder, powdered sugar (icing sugar), water |
| Optional Ingredients | Glycerin (for flexibility), white vinegar (for preservation), food coloring (for tinting) |
| Ratio (Gum Tragacanth) | 1 teaspoon gum tragacanth to 1 cup powdered sugar |
| Ratio (Tylose Powder) | 1 tablespoon tylose powder to 2 cups powdered sugar |
| Water Amount | 2-3 tablespoons (adjust for desired consistency) |
| Mixing Method | Combine dry ingredients, add water gradually, knead until smooth |
| Resting Time | 24-48 hours (wrapped in plastic wrap) |
| Storage | Airtight container, room temperature, up to 6 months |
| Shelf Life (Prepared Paste) | 2-3 weeks (refrigerated) |
| Texture | Smooth, pliable, and firm when dry |
| Uses | Cake decorations, sugar flowers, modeling |
| Drying Time | 24-72 hours (depending on size and humidity) |
| Food Safety | Edible but not flavorful; primarily for decoration |
| Alternative Binders | Xanthan gum, CMC (carboxymethyl cellulose) |
| Humidity Impact | High humidity may require more tylose/gum; low humidity may cause cracking |
| Coloring Method | Add gel food coloring during mixing or paint after drying |
| Thickness Adjustment | Add more powdered sugar for stiffness, water for softness |
What You'll Learn
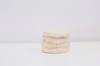
- Gathering Ingredients: Essential items like gum tragacanth, powdered sugar, and tylose powder are needed
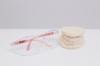
- Mixing the Dough: Combine ingredients, knead until smooth, and ensure consistency for shaping
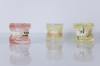
- Coloring Techniques: Use gel food coloring to tint gum paste for desired floral or decorative hues
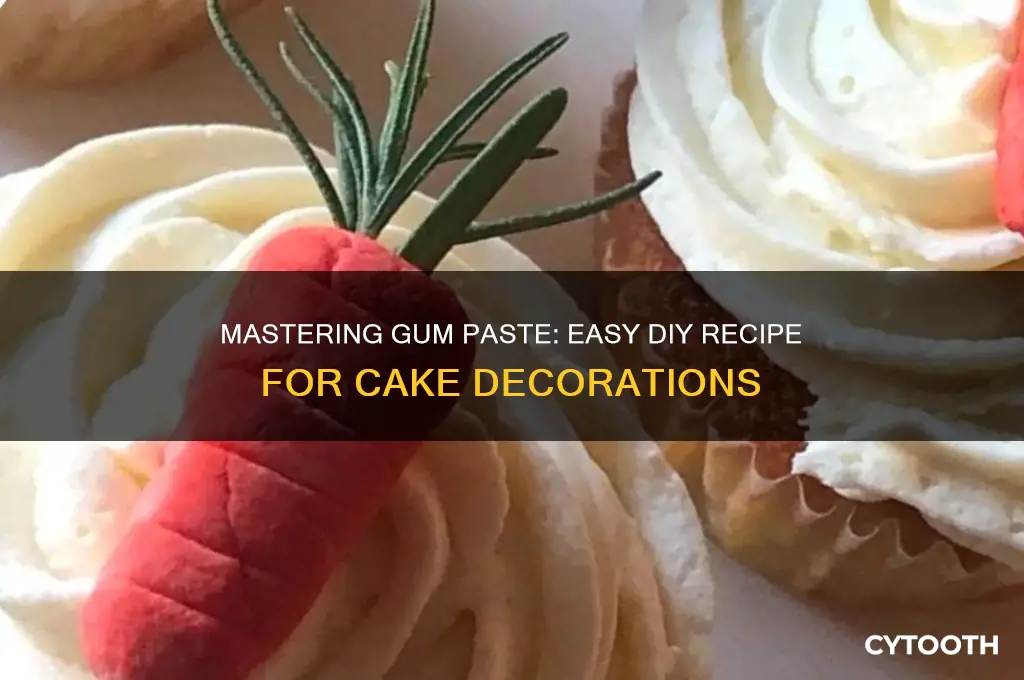
- Shaping and Molding: Roll, cut, and shape gum paste into flowers, leaves, or intricate designs
- Drying and Storing: Air-dry creations on foam or wire, then store in airtight containers for later use
![]()
Gathering Ingredients: Essential items like gum tragacanth, powdered sugar, and tylose powder are needed
Gum paste, a staple in cake decorating, relies heavily on its ingredients to achieve the perfect consistency and durability. Among the essentials, gum tragacanth, powdered sugar, and tylose powder stand out as the backbone of this versatile medium. Gum tragacanth, derived from the sap of Middle Eastern legumes, acts as a natural binder, providing elasticity and strength. Powdered sugar, often confectioner’s sugar, serves as the base, offering structure and sweetness. Tylose powder, a cellulose derivative, enhances pliability and drying time, making it ideal for intricate designs. Together, these ingredients form the foundation of gum paste, ensuring it remains workable yet firm enough for detailed decorations.
When gathering these ingredients, precision is key. For a standard gum paste recipe, start with 1 teaspoon of tylose powder mixed into 2 tablespoons of warm water, allowing it to dissolve completely before combining with other components. Gum tragacanth is typically used in smaller quantities—about 1/4 teaspoon per cup of powdered sugar—to avoid over-binding, which can make the paste brittle. Powdered sugar should be sifted to eliminate lumps, ensuring a smooth texture. A practical tip: store gum tragacanth in an airtight container to prevent it from drying out, as it absorbs moisture from the air. These measured proportions and handling techniques are crucial for achieving the desired consistency and longevity of your gum paste.
Comparing gum tragacanth and tylose powder reveals their distinct roles in gum paste creation. While gum tragacanth is a traditional, natural option favored for its ability to create delicate, lifelike flowers, tylose powder is a modern alternative prized for its affordability and ease of use. Tylose, being more readily available, is often the go-to choice for beginners, though purists may argue that gum tragacanth yields superior results in terms of flexibility and finish. Powdered sugar remains constant across both, acting as the unifying element. Understanding these differences allows decorators to tailor their ingredient choices based on project complexity and personal preference.
For those new to gum paste, sourcing these ingredients can be a hurdle. Gum tragacanth and tylose powder are not typically found in standard grocery stores but are widely available online or in specialty baking supply shops. When purchasing, opt for food-grade products to ensure safety for consumption. A cost-saving tip: buy in bulk if you plan to use gum paste frequently, as these ingredients have a long shelf life when stored properly. Additionally, consider experimenting with small batches to familiarize yourself with how each ingredient contributes to the final product before scaling up for larger projects.
In conclusion, mastering gum paste begins with understanding and gathering its essential ingredients. Gum tragacanth, powdered sugar, and tylose powder each play a unique role, from binding to structuring and enhancing pliability. By measuring accurately, handling with care, and choosing quality ingredients, decorators can create a gum paste that is both functional and artistic. Whether crafting intricate sugar flowers or simple shapes, the right ingredients make all the difference in bringing your edible creations to life.
COVID and Gum Pain: Unraveling the Connection and Symptoms
You may want to see also
![]()
Mixing the Dough: Combine ingredients, knead until smooth, and ensure consistency for shaping
The foundation of any successful gum paste lies in the meticulous mixing and kneading of its ingredients. This stage is where the magic happens, transforming a collection of dry and liquid components into a pliable, smooth dough ready for shaping. The process begins with precision: combine 1 tablespoon of gum tragacanth or tylose powder with 1 cup of confectioner's sugar in a mixing bowl. Gradually add 2-3 tablespoons of warm water, stirring continuously to prevent lumps. The goal is to achieve a crumbly texture initially, ensuring the dry ingredients are evenly distributed.
Kneading is where the dough comes alive. Turn the mixture onto a surface dusted with confectioner's sugar to prevent sticking. Use the heel of your hand to press and fold the dough repeatedly, incorporating any dry bits. This step requires patience and consistency; aim for 8-10 minutes of kneading until the dough becomes smooth and elastic. The texture should resemble playdough, firm yet pliable, without any cracks or dryness. If the dough feels too sticky, sprinkle a little more sugar; if it’s too dry, add water, a few drops at a time.
Ensuring consistency is critical for shaping. A well-mixed dough should hold its form without tearing or crumbling. Test its readiness by rolling a small piece into a ball and flattening it—it should smooth out without breaking. If the dough is too brittle, knead in a pinch of water; if too soft, work in more sugar. The ideal gum paste dough should feel like a soft ear lobe when pressed, a tactile benchmark for perfection.
Practical tips can elevate your mixing game. Keep your hands and tools clean to avoid introducing moisture or debris. Work in a cool, dry environment to prevent the dough from drying out too quickly. If you’re short on time, use a stand mixer with a dough hook for the initial mixing, but finish kneading by hand for better control. Finally, wrap the dough tightly in plastic wrap and let it rest for 30 minutes before shaping—this allows the ingredients to fully integrate, ensuring a smoother, more workable paste. Master this stage, and you’ll have a reliable base for intricate gum paste creations.
Discover the Best Gum for Blowing the Biggest Bubble Ever
You may want to see also
![]()
Coloring Techniques: Use gel food coloring to tint gum paste for desired floral or decorative hues
Gel food coloring is the preferred choice for tinting gum paste due to its concentrated pigment and minimal liquid content, ensuring the paste retains its pliability without becoming sticky. Unlike liquid food coloring, which can alter the consistency of gum paste, gel colors provide vibrant, true-to-life hues with just a small amount. For floral designs, start by kneading a pea-sized drop of gel color into a golf ball-sized portion of gum paste, gradually adding more until the desired shade is achieved. This method allows for precise control over the intensity of the color, whether you're aiming for a soft pastel petal or a deep, rich blossom.
When working with gel colors, it’s essential to consider the final shade, as colors deepen as the gum paste dries. For instance, a bright yellow may appear almost neon when first applied but will mellow to a more natural tone within a few hours. To achieve multi-toned effects, such as gradients or veining in flowers, use a toothpick to apply small amounts of gel color directly to the surface of the gum paste, then blend with a clean tool or your fingertips. For intricate designs, dilute a tiny amount of gel color with vodka or clear extract to create a paint-like consistency, which can be brushed onto dried gum paste pieces for fine detailing.
One common mistake is overloading the gum paste with color, which can weaken its structure and make it prone to cracking. To avoid this, always start with less gel color than you think you’ll need and gradually build up the intensity. If you’re creating a large batch of colored gum paste, divide it into smaller portions and tint each individually to ensure even distribution. For projects requiring multiple colors, prepare each shade separately, as combining colors directly in the gum paste can lead to muddy or unpredictable results.
For decorative elements like leaves or accents, consider using complementary colors to add depth and realism. For example, a touch of brown or green gel color along the edges of a red gum paste flower can mimic natural shading. When working with metallic or pearlized gel colors, apply them sparingly to highlight specific areas, such as the center of a flower or the edges of a leaf, for a luxurious finish. Always allow colored gum paste to dry completely before assembling or handling to prevent smudging or color transfer.
In conclusion, mastering gel food coloring techniques opens up endless possibilities for customizing gum paste creations. By understanding the properties of gel colors and practicing precise application, you can achieve professional-quality floral and decorative designs. Remember to plan your color palette in advance, work in layers, and allow ample drying time for the best results. With patience and experimentation, gel coloring will become an indispensable tool in your gum paste crafting arsenal.
Does Zyn Cause Gum Recession? Uncovering the Truth and Risks
You may want to see also
![]()
Shaping and Molding: Roll, cut, and shape gum paste into flowers, leaves, or intricate designs
Gum paste's transformative potential lies in its malleability, allowing artisans to sculpt delicate petals, intricate leaves, and elaborate designs with precision. This pliable medium, when skillfully shaped and molded, becomes the cornerstone of edible artistry, adorning cakes, cupcakes, and pastries with lifelike floral arrangements and decorative accents.
Mastering the Roll: Foundation of Shaping
Begin by kneading your gum paste until it's smooth and pliable, ensuring a consistent texture for even shaping. Dust your work surface with a thin layer of cornstarch or powdered sugar to prevent sticking. Roll the paste into a ball, then flatten it slightly with your palm. Using a rolling pin, apply gentle, even pressure to create a thin, uniform sheet. For flowers, aim for a thickness of approximately 1/8 inch; leaves may require a slightly thinner sheet.
Cutting Techniques: Precision and Creativity
With your rolled-out gum paste, employ various cutting tools to achieve desired shapes. For petals, use a small, sharp knife or petal-shaped cutters to create uniform pieces. Leaf shapes can be cut freehand or with vein-imprinted cutters for added realism. Experiment with different sizes and styles to build a diverse floral repertoire. Remember, precision is key; clean, sharp cuts ensure professional-looking results.
Shaping and Molding: Bringing Designs to Life
The true artistry of gum paste lies in its ability to be shaped and molded into intricate designs. For flowers, gently cup each petal between your thumb and forefinger, using a ball tool to thin and shape the edges. Assemble the petals, layering and securing them with a small amount of edible glue. Leaves can be veined using a vein tool or impressed with a textured mat for added detail. Allow your creations to dry on a foam or egg carton surface, which helps maintain their shape.
Advanced Techniques: Elevating Your Designs
As you refine your skills, explore advanced techniques such as frilling, ruffling, and layering to add depth and dimension to your designs. Dusting your creations with petal dust or edible paint can enhance their realism, mimicking the subtle color variations found in nature. Experiment with different gum paste recipes, adjusting the ratio of ingredients to achieve varying levels of firmness and flexibility, suited to specific design requirements. With practice and patience, you'll unlock the full potential of gum paste, crafting breathtaking edible masterpieces that delight and inspire.
Achieve Healthy Pink Gums: Simple Tips for a Brighter Smile
You may want to see also
![]()
Drying and Storing: Air-dry creations on foam or wire, then store in airtight containers for later use
Once your gum paste creations have taken shape, the drying process is crucial to preserving their intricate details. Air-drying is the preferred method, as it allows the paste to harden gradually without warping or cracking. Place your delicate pieces on foam or wire racks to ensure even drying. Foam provides a soft surface that won’t damage the paste, while wire racks promote airflow, speeding up the process. Avoid using paper towels or cloth, as they can stick to the paste or leave unwanted textures. Depending on the size and thickness of your creation, drying can take anywhere from 12 to 48 hours. Patience is key—rushing this step can ruin weeks of work.
The environment in which you dry your gum paste plays a significant role in the final outcome. Aim for a room with moderate humidity and consistent temperature, ideally between 68°F and 72°F (20°C and 22°C). High humidity can prolong drying time and introduce mold, while extreme heat can cause the paste to dry too quickly, leading to cracks. If you live in a humid climate, consider using a dehumidifier or placing a small fan nearby to circulate air. For larger pieces, like flowers or figurines, partially cover them with a lightweight cloth to protect them from dust while still allowing air to reach the surface.
Once your gum paste creations are completely dry, proper storage is essential to maintain their integrity. Airtight containers are your best friend here. Use plastic containers with secure lids or glass jars with rubber seals to prevent moisture from seeping in. For added protection, line the container with parchment paper or foam sheets to cushion the pieces and prevent breakage. Label each container with the date and contents, especially if you’re storing multiple designs. Stored correctly, gum paste creations can last for months, if not years, making them ideal for advance preparation or reuse in future projects.
A common mistake in storing gum paste is overlooking the impact of light and temperature fluctuations. Direct sunlight can fade colors over time, so store your containers in a cool, dark place like a pantry or cabinet. Avoid areas near ovens, refrigerators, or windows, where temperature changes can cause condensation inside the container. If you’re storing gum paste flowers, consider arranging them in a way that minimizes contact between petals to prevent sticking or distortion. With these precautions, your creations will remain as vibrant and detailed as the day you made them.
The Science Behind Mint Gum's Chilling Effect on Water
You may want to see also
Frequently asked questions
To make gum paste, you typically need powdered sugar (icing sugar), tylose powder (or gum tragacanth), warm water, and optionally glycerin. Tylose powder is essential as it provides the elasticity and strength needed for shaping and drying.
Start by mixing tylose powder with warm water until it dissolves completely. Gradually add the mixture to sifted powdered sugar and knead until a smooth, pliable dough forms. If using glycerin, add it during the kneading process to improve flexibility. Let the dough rest before using.
Gum paste dries within 24–48 hours, depending on the size and thickness of the piece. Store unused gum paste in an airtight container or wrapped in plastic wrap to prevent it from drying out. Properly stored, it can last for several weeks.